
In this post we will see how-to create a bootable usb drive to install Windows or Linux with or without secure boot UEFI. In particular we will use the free software Rufus available for Windows. At the end of the post there is a video with all the operations done.
First of all we connect the usb pendrive to the computer.
Note Well: the usb pendrive must have at least 4 GB and, as the software will erase all its data, before starting check that you have copied these files in another location.
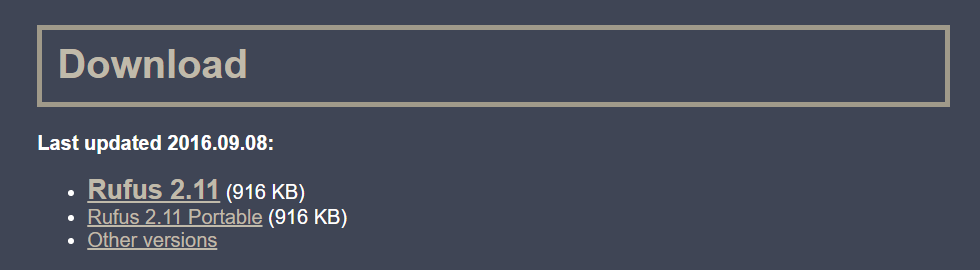
We go to the link https://rufus.akeo.ie/?locale=en_GB and we download the software Rufus by clicking on “Rufus x.xx portable” (where x.xx is the software version):
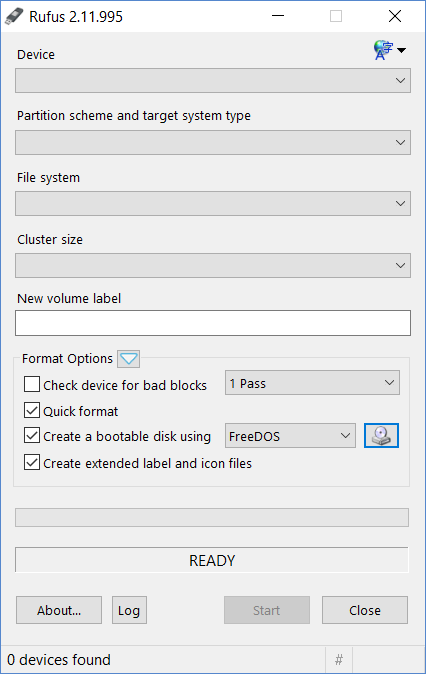
Now we run the software Rufus by clickin in the file we have downloaded yet:
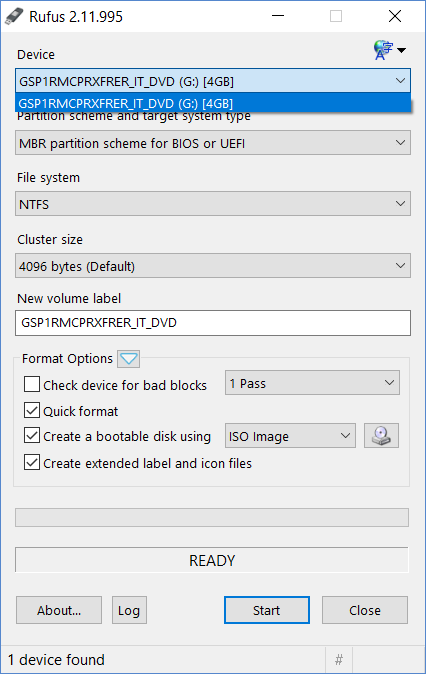
First of all we select the Device (the usb pendrive) by clicking on the dropdown menu:
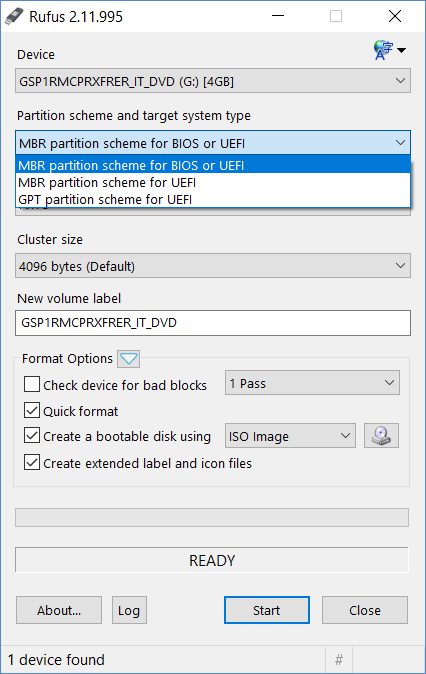
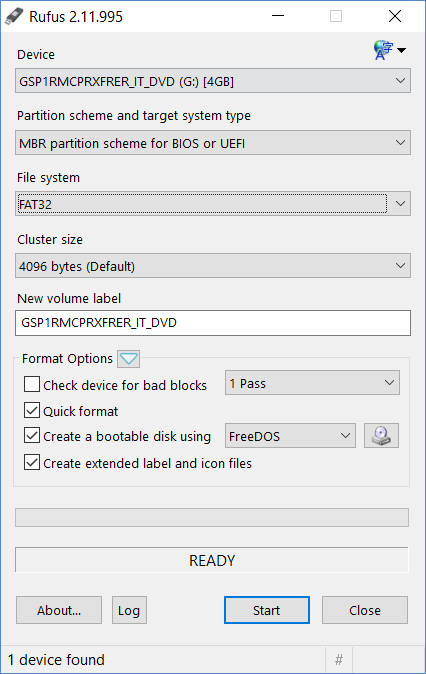
As Partition scheme and target system type we select MBR partition scheme for BIOS or UEFI:
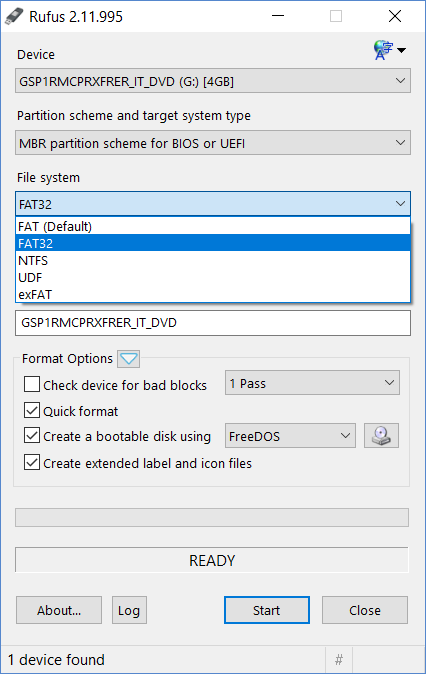
As File System we select FAT32:
As Cluster size we leave as it is and, if we want, we can set the name of the pendrive by modifying the box New volume label:
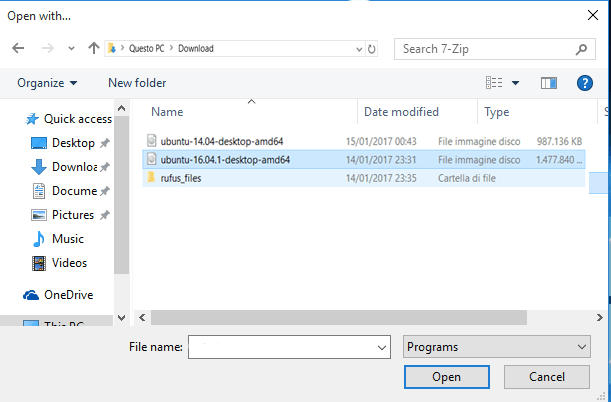
Now we click on the icon ![]() and, in the windows that will popup, we select the iso (disk image) of the installation that we want to install in the pendrive (for example: Ubuntu-16.04) and then we press on the button
and, in the windows that will popup, we select the iso (disk image) of the installation that we want to install in the pendrive (for example: Ubuntu-16.04) and then we press on the button ![]() :
:
Once we have loaded the iso file we press on the button ![]() and we wait until the process will finish (5-10 minutes).
and we wait until the process will finish (5-10 minutes).
Now our usb pendrive is ready to boot! So we leave the pendrive connected to the pc. We restart the system and when the bios comes up (typically is when you see screen of your pc vendor) we press f12 on the keyboard. Now we can or select the boot device menu or we can enter in the bios menu and modify the boot order (it depends on the version of bios you are running).