

In this post we’ll see the maintenance that we have to do regularly to speedup our computer. In particular we will install the software CCleaner. At the end of the post there is a video that shows all the operations.
Installation of the program CCleaner
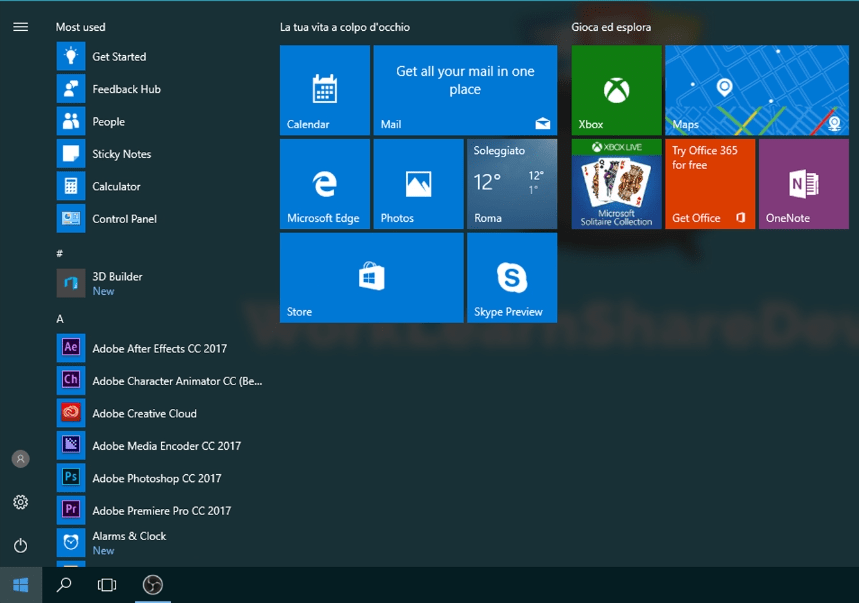
First of all we open the web browser Microsoft Edge: we click on the windows logo ![]() and we open the start menu:
and we open the start menu:
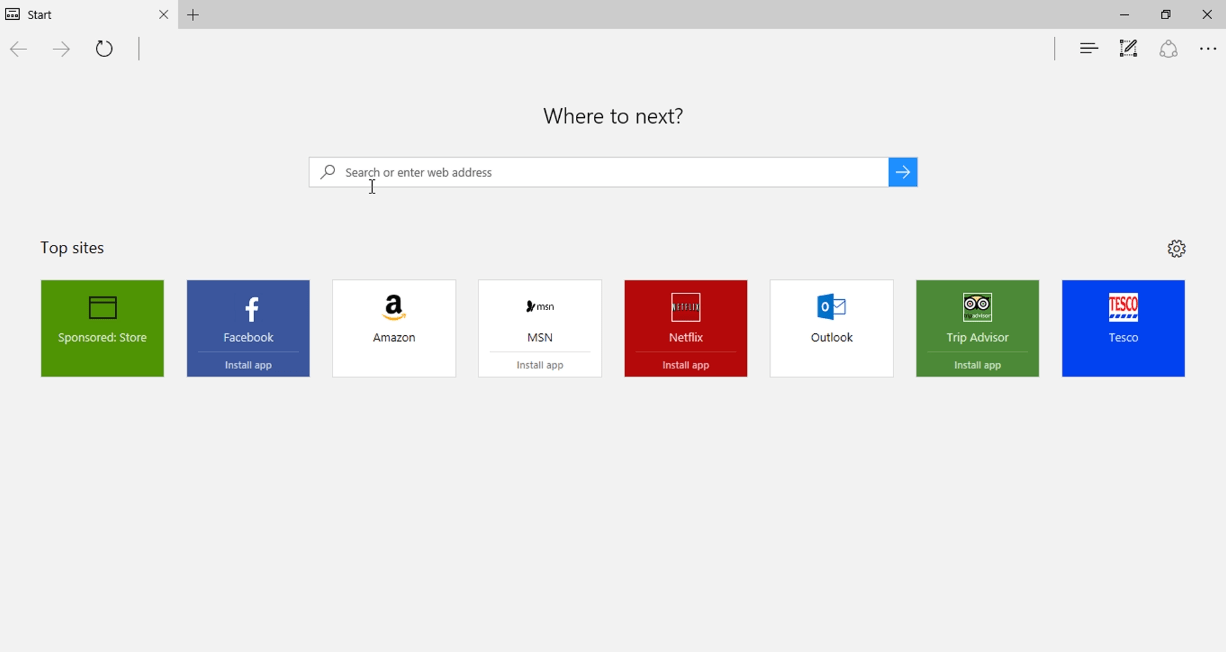
Now on the keyboard we type “edge” and we press on the program “Microsoft Edge” ![]() . Once you have clicked the browser will start:
. Once you have clicked the browser will start:
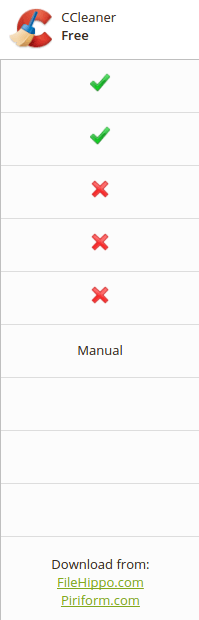
On the link address (the blank space where is written “Search or enter web adress”) we type CCleaner and we press the return button of the keyboard. From the result we search “Piriform – CCleaner“ and we click on it:

In the page that will open we scroll down and, in the column CCleaner Free we press on FileHippo.com (under Download from ):
In the page that will be opened we press the green button ![]() . Now we press on “Save”
. Now we press on “Save” ![]() and then on “Run”
and then on “Run” ![]() . If the pc ask to you the permission to run the program you have to press on the button “Yes”.
. If the pc ask to you the permission to run the program you have to press on the button “Yes”.
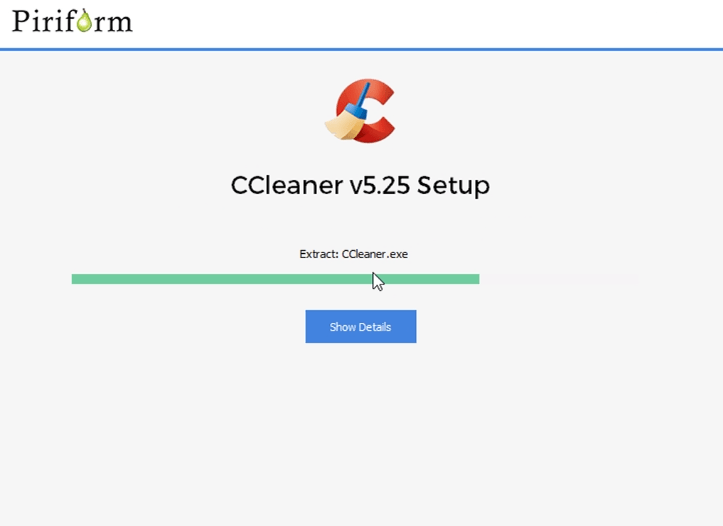
At this point the installation program will execute:
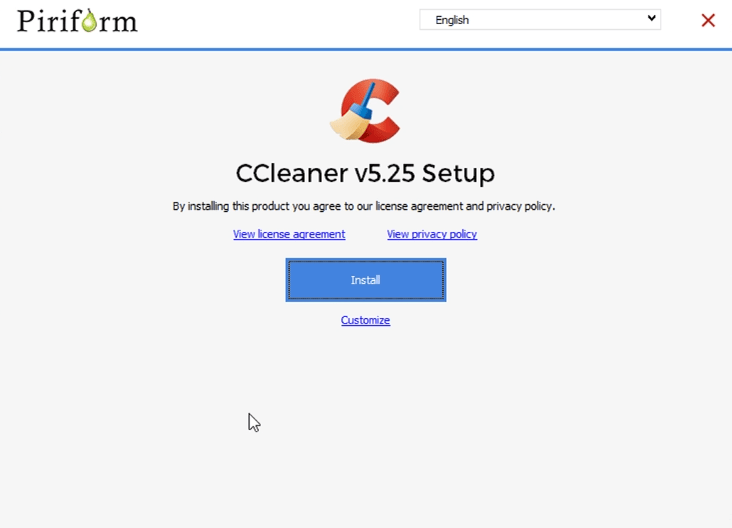
We press on the blue button Install and the installation of CCleaner will begin:
Once the installation is finished will appear the last installation windows:
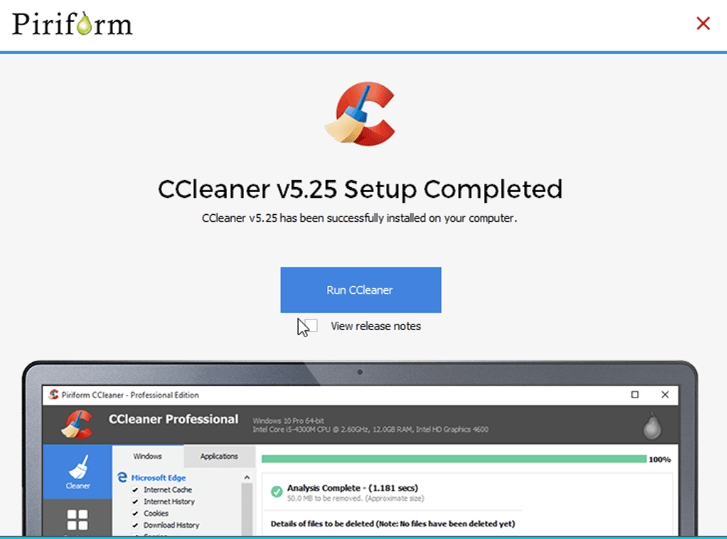
We uncheck View release notes by clicking on the little square beside it and we press the blue button Run CCleaner. Now the program will start:
Maintenance and cleanup of our pc
Now we take a look to the main operations that we have to perform regularly to speedup our computer. We can divide them in two categories:
To do it weekly
Disk Cleanup
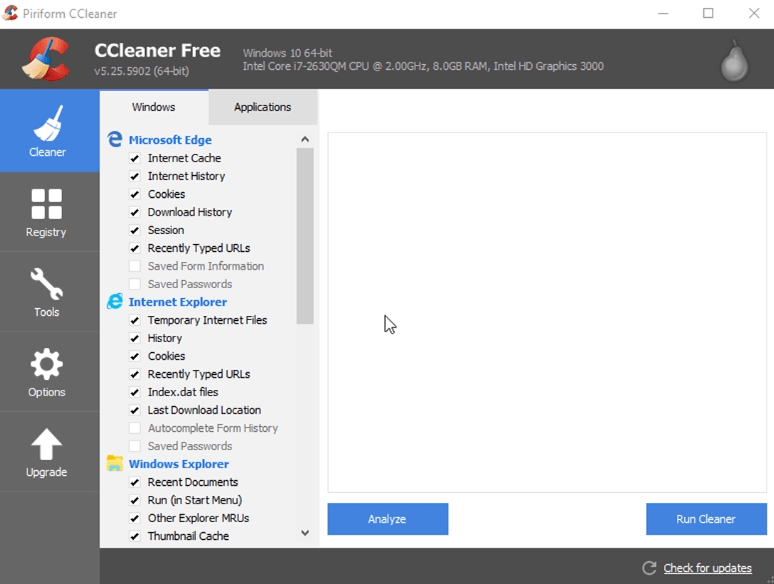
The first operation that we have to do is the Disk Cleanup. Before going on you have to close all the web browser (Google Chrome, Microsoft Edge or Mozilla Firefox). In the main window of CCleaner we press on the tab  and then we click on the blue button
 ![]() . Now will appear this message:
. Now will appear this message:
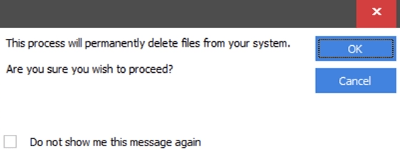
We check Do not show me this message again by clicking on the little square beside it and we press Ok. Now we wait until the cleanup process will end.
Registry Cleanup
The second operation that we have to do is the Registry Cleanup. In the main window of CCleaner we press on the tab  and then we click the blue button
 ![]() . Once the program has found all the issues we click on the blue button
. Once the program has found all the issues we click on the blue button ![]() . Now this message will appear:
. Now this message will appear:
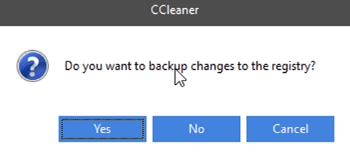
We press on the blue button Yes and then this window will appear:
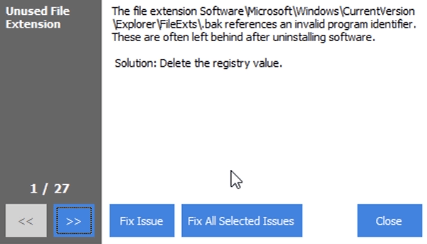
Finally we press on the blue button Fix selected Issues.
To do it monthly
Drive Wiping
The last operation that we have to do it monthly is the Drive Wiping. What does it mean? When a file is deleted by the classic method of the recycle bin, this file in not deleted from our disk. It will be only set as “Space that can be overwrite”, but if our operating system didn’t overwrite it with some file or with a program, that space isn’t free. That’s why we have to perform the wiping of the “free space”.
In the main window of CCleaner we press on the tab  and then on the tab
 ![]() . Now we have this window:
. Now we have this window:
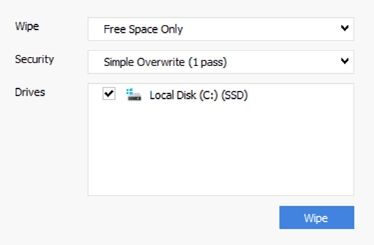
This entries must be selected (as in the photo):
Wipe Free Space Only
Security Simple Overwrite (1 pass)
Drives Local Disk (C:) (the one with the Windows logo in the icon)
Finally you press on the blue button Wipe and you wait until all the process is done. It may take from 1 to 3 hours to last.