In this post we will see how-to create a Compass App with Flutter. At the end of this post there is a video that shows all the steps.
Let’s begin. All the project is based on the compasstools flutter plugin that you can find on https://pub.dev/packages/compasstools. Note that the version of the plugin can change during the time, so visit the plugin pub page before starting.
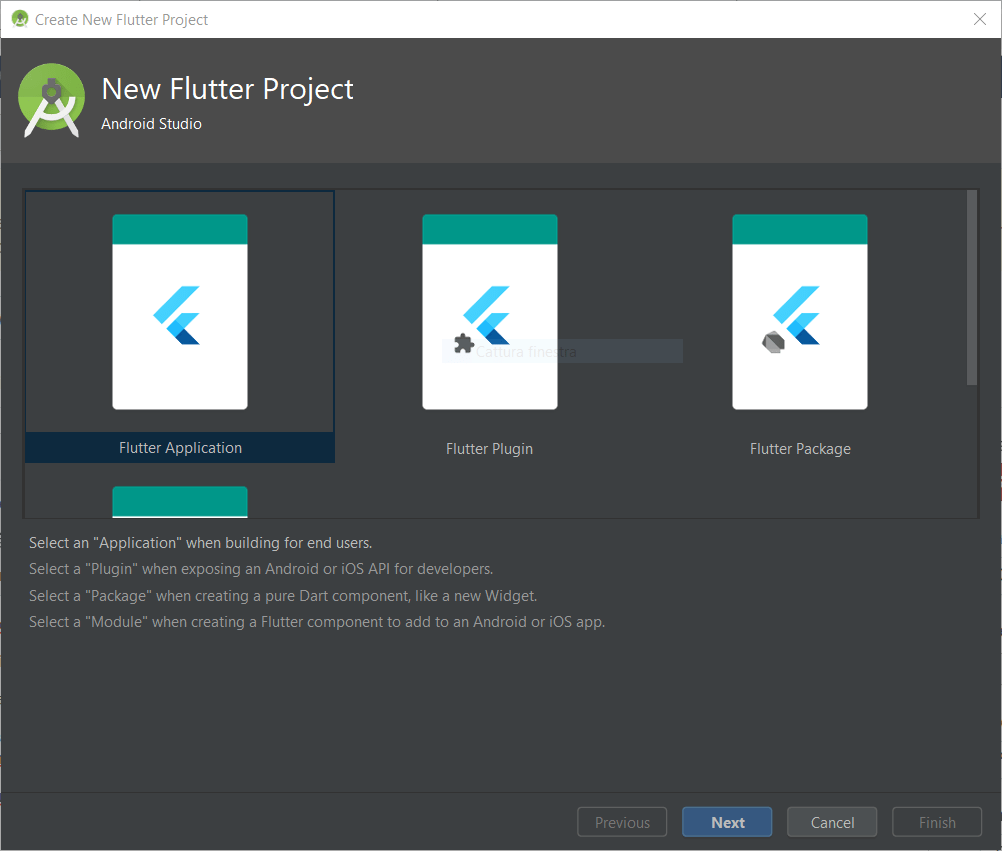
Now we open Android Studio. We select “Start a new Flutter project”. We select “Flutter Application” and we click on next.
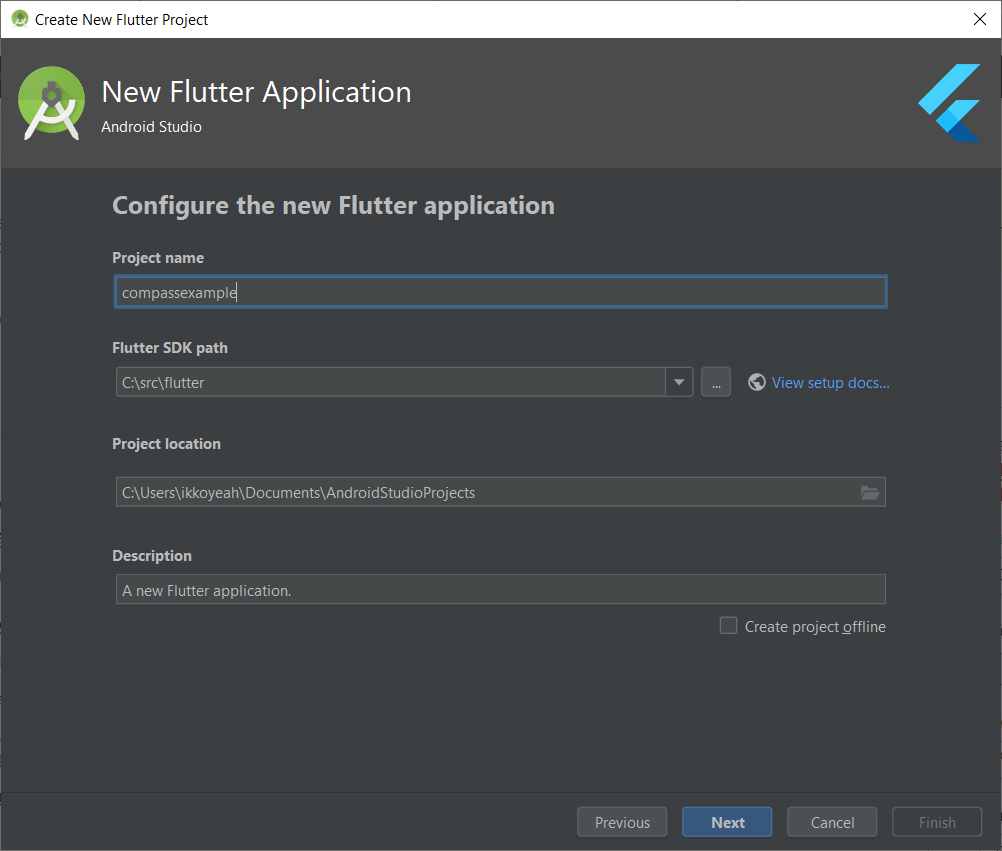
In the next window we choose the Project name, we specify the Flutter SDK path (it depends where you have downloaded the Flutter SDK), the Project location and the Description. Then we click on next:
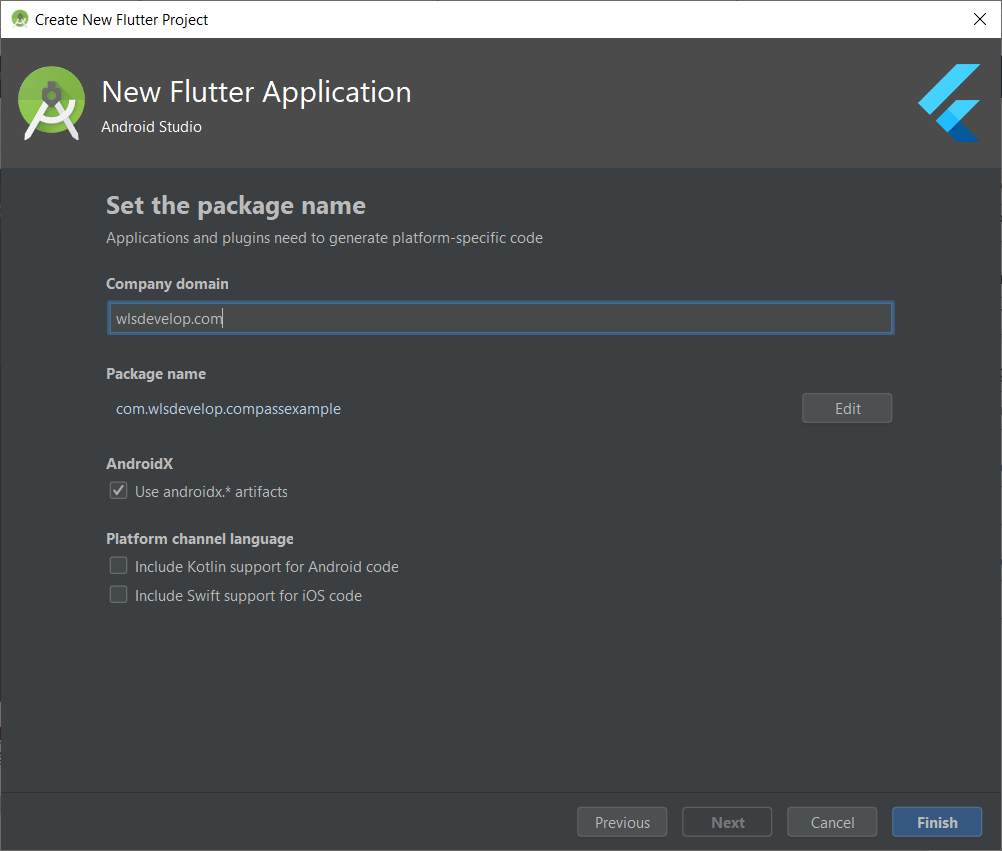
In this window we can specify the company domain and the support to Kotlin and Swift code. In our case we specify only the company domain (your company domain) and we uncheck the support to Kotlin and Swift code. Then we click on Finish.
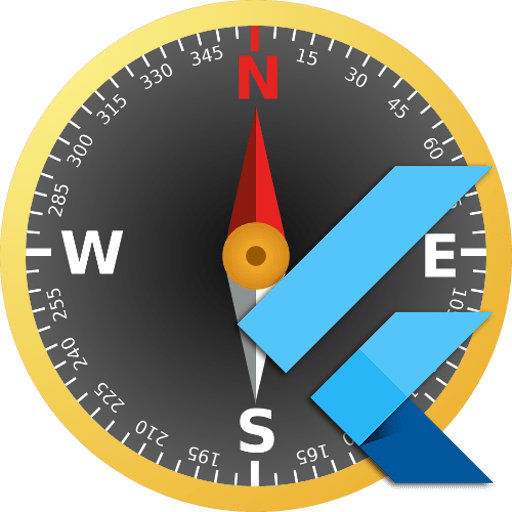
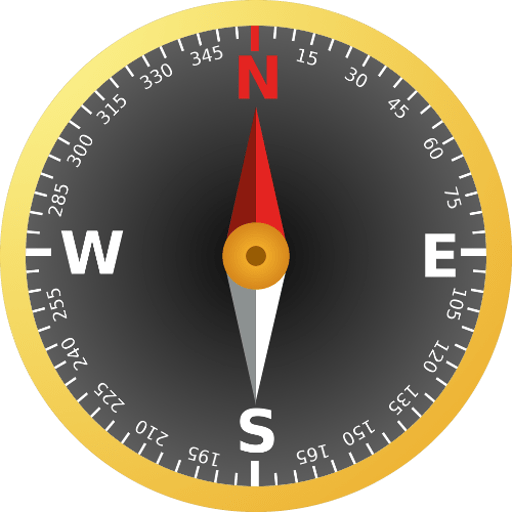
Now we have created our project. Before starting coding click here to download the image for our compass.
The first file that we are going to modify is the pubspec.yaml. We add the compasstools plugin dependecy, the assets folder and we delete all the unneeded code and comment. The result is the following:
name: compassapp
description: Test for compass App
version: 1.0.0+1
environment:
sdk: ">=2.1.0 <3.0.0"
dependencies:
flutter:
sdk: flutter
cupertino_icons: ^0.1.2
compasstools: ^0.0.1
dev_dependencies:
flutter_test:
sdk: flutter
flutter:
uses-material-design: true
assets:
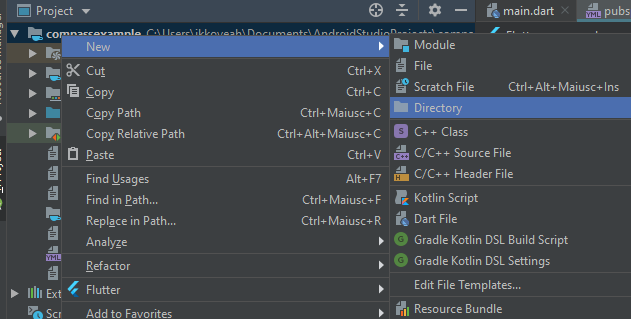
- assets/As we can see we have only added the compasstools: ^0.0.1 dependecy below cupertino_icons: ^0.1.2 and the assets folder below uses-material-design: true. Now we create the assets folder by right clicking on the root of the project on the left sidebar, the we go on New->Directory and we name it assets:
Now we copy the compass image ( click here to download) in the assets folder that we have just created (you use the file explorer of your pc, you go into the project folder and you copy the image in the assets folder that we have created before).
The last thing that we have to do is implement the Dart code of the application in the lib/main.dart file. First of all we clean all the code leaving only this part of it:
import 'package:flutter/material.dart';

void main() => runApp(MyApp());

class MyApp extends StatelessWidget {

}
Then we import the compasstools and the services plugin:
import 'package:flutter/material.dart';
import 'package:compasstools/compasstools.dart';
import 'package:flutter/services.dart';

void main() => runApp(MyApp());

class MyApp extends StatelessWidget {

}
The we change the state of the class MyApp to StatefulWidget, we create a state called _MyAppState and we start to implement the class _MyAppState:
import 'package:flutter/material.dart';
import 'package:compasstools/compasstools.dart';
import 'package:flutter/services.dart';

void main() => runApp(MyApp());

class MyApp extends StatefulWidget {
  @override
 _MyAppState createState() => _MyAppState();
}
class _MyAppState extends State<MyApp> {

@override
 Widget build(BuildContext context) {
    return null;
 }
}
Before going on to code, we have to clarify that this plugin has two different channels of communication to get data:
Method Channel that we use to get the information about the sensors of the device that runs the App.
EventChannel that we use to get the data from the sensors every time this data change.
Now we override the initState() that calls the async method checkDeviceSensors() where we check which type of sensors the device has:
import 'package:flutter/material.dart';
import 'package:compasstools/compasstools.dart';
import 'package:flutter/services.dart';

void main() => runApp(MyApp());

class MyApp extends StatefulWidget {
  @override
 _MyAppState createState() => _MyAppState();
}
class _MyAppState extends State<MyApp> {

int _haveSensor;
 String sensorType;

 @override
 void initState() {
 super.initState();
 checkDeviceSensors();
 }

 Future<void> checkDeviceSensors() async {

  int _haveSensor;
  String sensorType;


  @override
  void initState() {
    super.initState();
    checkDeviceSensors();
  }


  Future<void> checkDeviceSensors() async {
    int haveSensor;


    try {
      haveSensor = await Compasstools.checkSensors;


      switch (haveSensor) {
        case 0:
          {
            sensorType = "No sensors for compass!";
          }
          break;


        case 1:
          {
            sensorType = "Accelerometer + Magnetometer!";
          }
          break;


        case 2:
          {
            sensorType = "Gyroscope!";
          }
          break;


        default:
          {
            sensorType = "Error!";
          }
          break;
      }
    } on Exception {


    }
    if (!mounted) return;


    setState(() {
      _haveSensor = haveSensor;
    });
  }


@override
 Widget build(BuildContext context) {
    return null;
 }
}
As you can see, we wait until the CompassTool.checkSensors return the type of sensors that we have (0=no sensors for compass, 1=Accelerometer+Magnetometer, 2=Gyroscope).
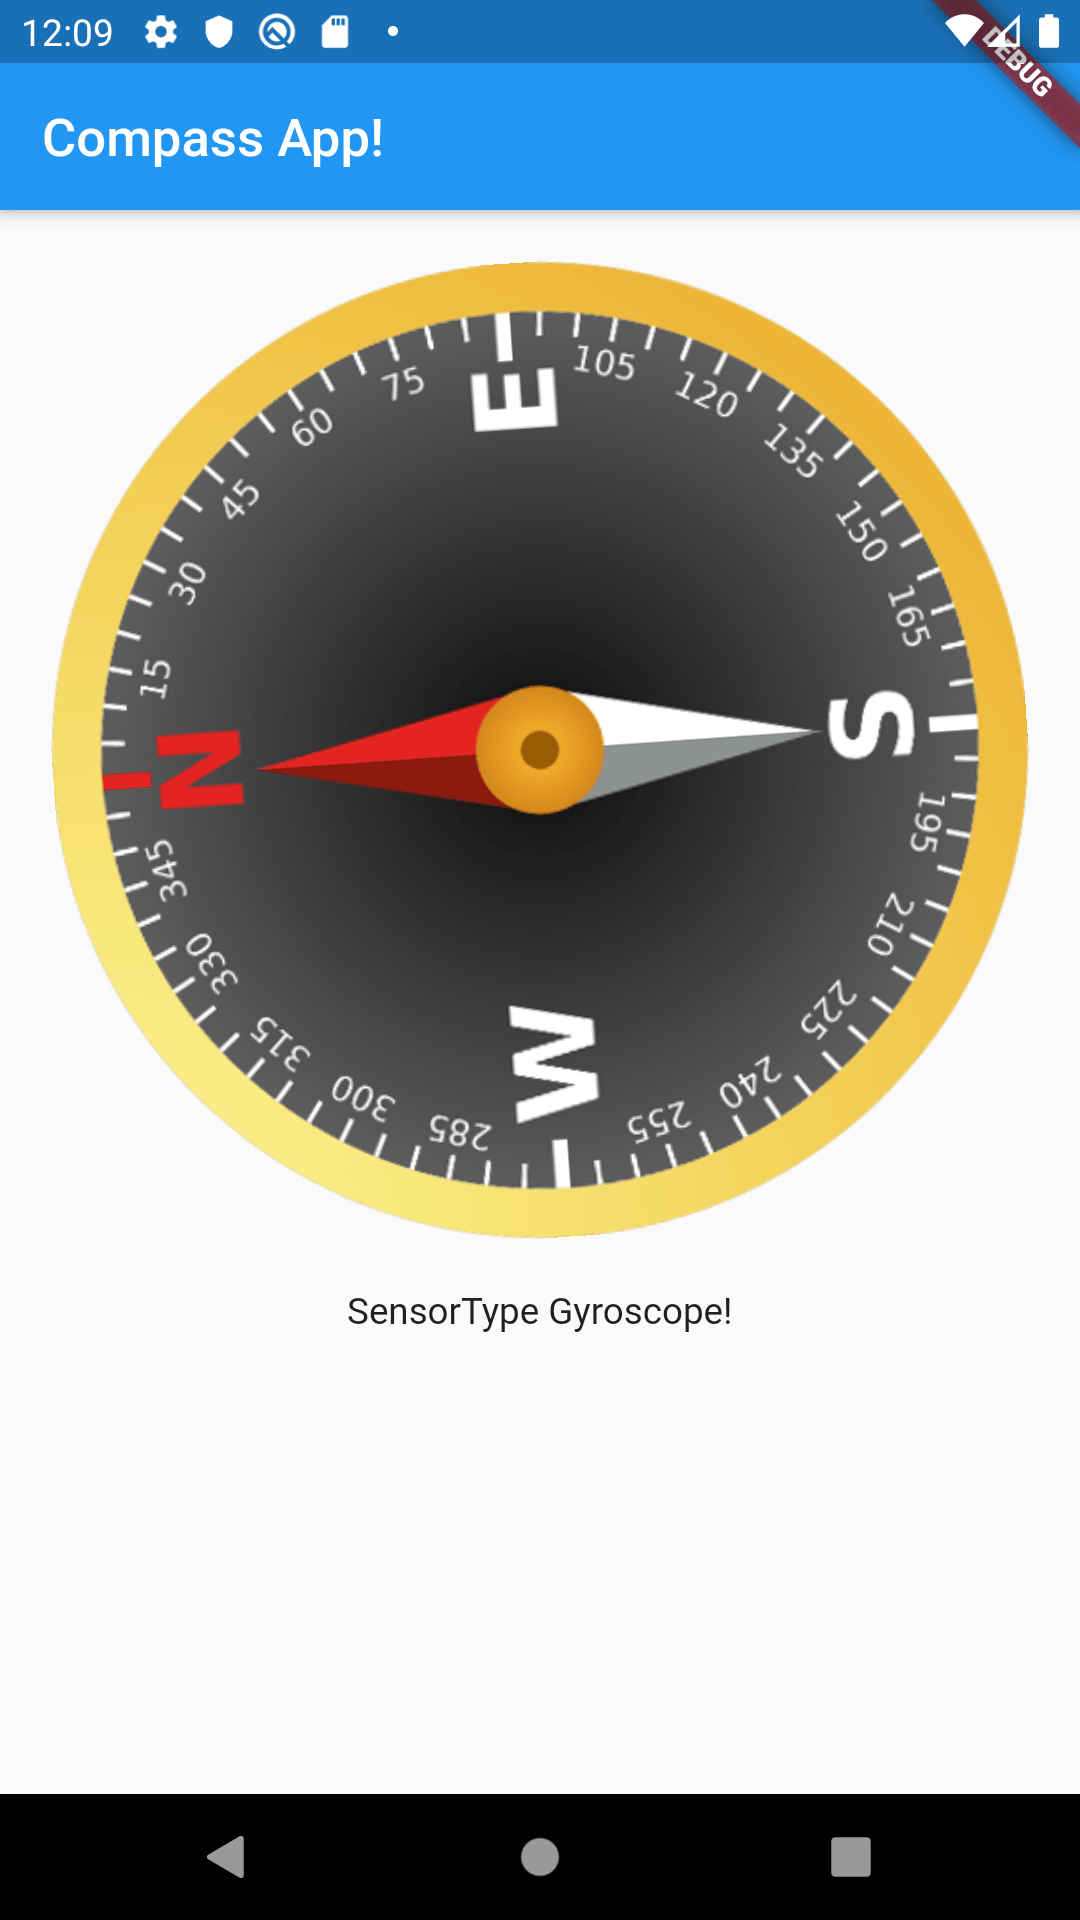
In the end we implement the layout part of our app, where we use a MaterialApp widget and we use a Stream to get the azimuth value for rotating the img compass everytime we rotate the device. This will be the final result:
import 'package:flutter/material.dart';
import 'package:compasstools/compasstools.dart';
import 'package:flutter/services.dart';

void main() => runApp(MyApp());

class MyApp extends StatefulWidget {
  @override
 _MyAppState createState() => _MyAppState();
}
class _MyAppState extends State<MyApp> {

int _haveSensor;
 String sensorType;

 @override
 void initState() {
 super.initState();
 checkDeviceSensors();
 }

 Future<void> checkDeviceSensors() async {

  int _haveSensor;
  String sensorType;


  @override
  void initState() {
    super.initState();
    checkDeviceSensors();
  }


  Future<void> checkDeviceSensors() async {
    int haveSensor;


    try {
      haveSensor = await Compasstools.checkSensors;


      switch (haveSensor) {
        case 0:
          {
            sensorType = "No sensors for compass!";
          }
          break;


        case 1:
          {
            sensorType = "Accelerometer + Magnetometer!";
          }
          break;


        case 2:
          {
            sensorType = "Gyroscope!";
          }
          break;


        default:
          {
            sensorType = "Error!";
          }
          break;
      }
    } on Exception {


    }
    if (!mounted) return;


    setState(() {
      _haveSensor = haveSensor;
    });
  }

 @override
  Widget build(BuildContext context) {
    return MaterialApp(
        home: Scaffold(
          appBar: AppBar(
            title: const Text('Compass App!'),
          ),
          body: new Container(
            child: Column(
              children: <Widget>[StreamBuilder(
                stream: Compasstools.azimuthStream,
                builder: (BuildContext context, AsyncSnapshot<int> snapshot) {
                  if (snapshot.hasData) {
                    return Padding(
                      padding: EdgeInsets.all(20),
                      child: Center(
                          child: new RotationTransition(
                            turns: new AlwaysStoppedAnimation(
                                -snapshot.data / 360),
                            child: Image.asset("assets/compass.png"),
                          )
                      ),
                    );
                  }
                  else
                    return Text("Error in stream!");


                },
              ),
                Text("SensorType " + sensorType),
              ],
            ),
          ),
        )
    );
  }

}
The azimuth value is returned in the <int> snapshot of the stream and we use it to rotate the compass img with a Rotation transition.
Now we press the the icon ![]() that permits to simulate our app on our smartphone or with an emulator. If everything is ok, the result will be the following:
that permits to simulate our app on our smartphone or with an emulator. If everything is ok, the result will be the following: